| Main answer: Make bodyweight exercises harder by adding repetitions, increasing useful range of motion, changing leverage, reducing assistance, shifting toward one-limb work, using controlled tempo or pauses, adding sets, applying secure external resistance, or increasing workout density. Change one measurable variable at a time so you can tell whether the progression actually worked. |
|---|
A bodyweight exercise does not need to become a circus skill to stay challenging. The useful next step is a small, measurable increase in demand while your range of motion and technique remain repeatable.
Progressive overload means gradually increasing training stress as your body adapts. With calisthenics, that stress can come from repetitions, leverage, assistance, range, tempo, sets, or density. The best option depends on whether you want strength, muscle growth, endurance, power, or general fitness.
Current resistance-training guidance emphasizes regular participation and individualization. Bodyweight and home-based routines can improve strength, muscle size, and physical function; complicated methods and training to failure are optional for most healthy adults. This article translates that principle into a practical progression system.
How to Build Muscle at Home: Beginner Workout Plan
How Do You Know a Bodyweight Exercise Is Too Easy?
An exercise is probably too easy when you can exceed your planned repetition range with consistent technique and still have several clean repetitions available in at least two workouts.
Use performance, not soreness or sweat, as the main test. Progress when the target muscles no longer approach a challenging effort within the planned set and the last repetitions remain controlled. For example, 15 clean reps with five or more still available is likely underloaded for strength or hypertrophy work.
A Simple Too-Easy Test
Keep the same exercise, tempo, range, and rest interval while you assess it. Then use this checklist after the final planned set.
- You reached the top of the planned rep range on every set.
- Your depth, body position, and pace stayed consistent from the first rep to the last.
- You could have completed roughly four or more additional clean repetitions.
- The result occurred in two workouts, not only on an unusually energetic day.
- The exercise is pain-free, and the next progression can be set up safely.
If only one or two boxes are true, keep the variation. If all are true, select one method below. Rep ranges are programming choices; different goals can require different ranges.
What Does Progressive Overload Mean in Bodyweight Training?
Progressive overload in bodyweight training means gradually increasing the work your muscles must produce or tolerate. The progression must be measurable enough that you can repeat it and compare it with the previous session.
A 2024 study in young adults found that progressing either load or repetitions produced strength and muscle gains during early resistance training. It was not bodyweight-specific, but it supports the broader point that overload can progress through more than one variable.
For practical bodyweight programming, change one main variable at a time. This is a coaching recommendation rather than a scientific law. It helps you identify what caused the new difficulty, preserve technique, and avoid combining a harder variation, extra sets, slower tempo, and shorter rest in the same week.
9 Ways to Make Bodyweight Exercises Harder
Use the least disruptive method that makes the target movement challenging again. The methods below are ordered from simple performance changes toward larger mechanical or programming changes, but you do not need to use every method in sequence.
1. Add Repetitions Within a Planned Range
Add one or more clean repetitions before changing the exercise. This is usually the simplest way to progress because the movement and setup stay the same.
Choose a range that fits the goal, such as 6-12 or 8-15 repetitions, and build toward the top without shortening the movement. Once all work sets reach the upper limit with the intended effort, move to a harder variation and return to the lower end.
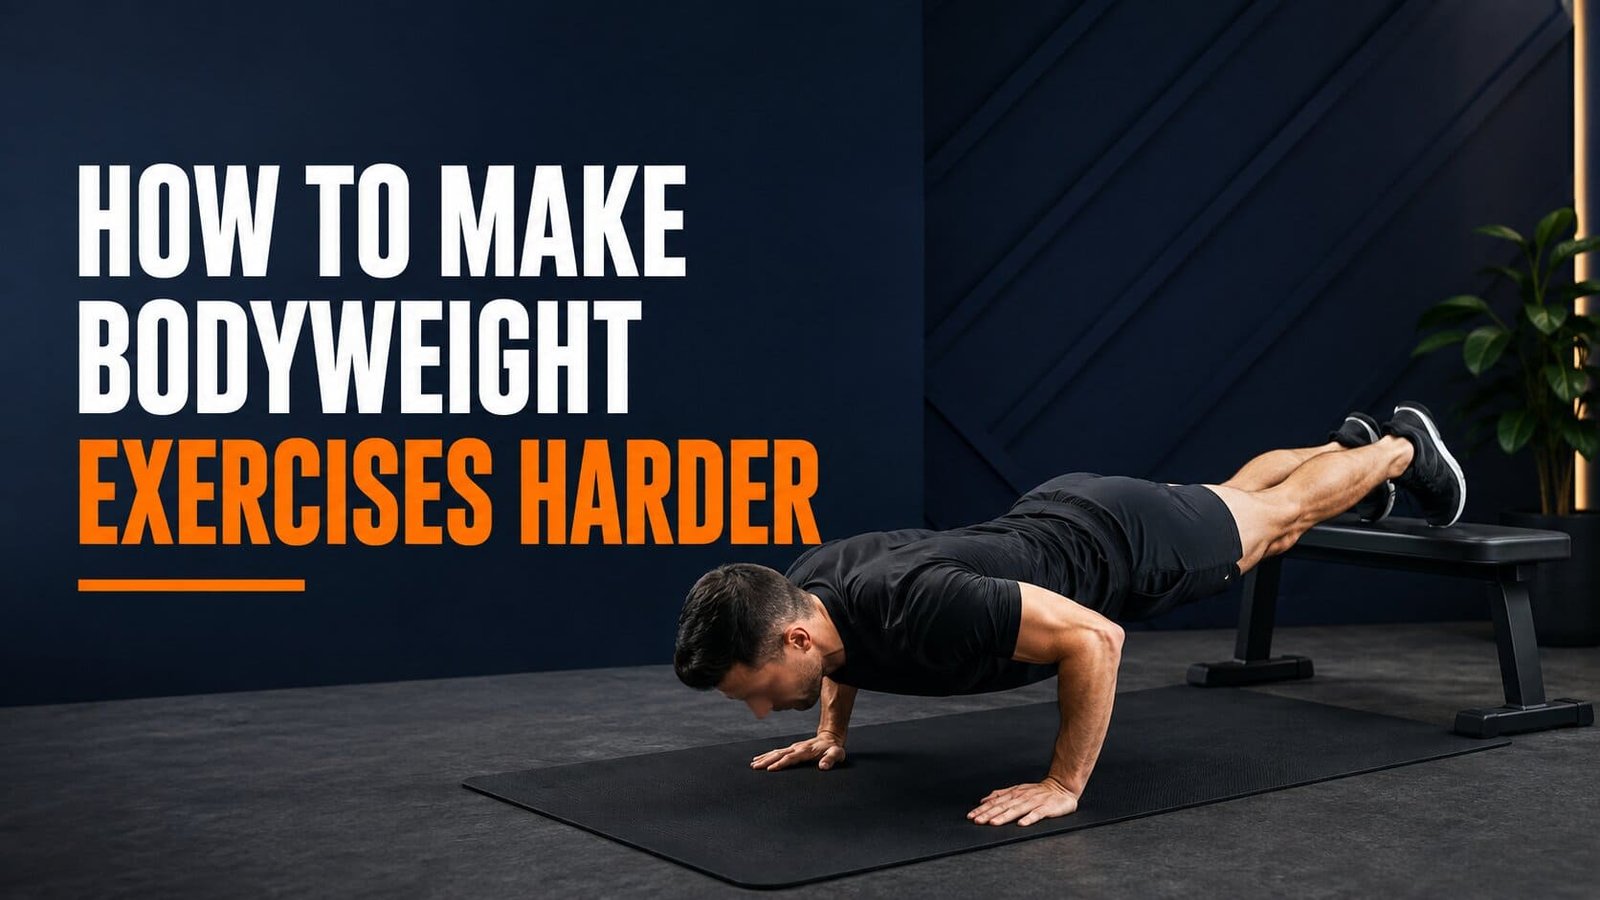
Example: Progress floor push-ups from 3 sets of 8, 8, and 7 to 3 sets of 12 before elevating the feet or adding a small secure load.
2. Increase the Useful Range of Motion
Move through a larger comfortable range while keeping control. More displacement can make the same exercise more demanding and improve strength through the range you train.
Use the range your joints can control rather than forcing depth. A systematic review found that full-range resistance training generally produced better strength and lower-limb hypertrophy outcomes than partial-range training, although the evidence was largely from externally loaded exercises.
Example: Progress a chair squat to a free squat at a consistent comfortable depth, or elevate the hands on push-up handles so the chest can travel slightly below hand level without shoulder discomfort.
Use with care: More range is not automatically safer or better. Stop before pain, loss of joint control, or a position you cannot reverse smoothly.
3. Change Leverage
Place more of your body mass farther from the working joint or shift your body angle so the target muscles handle a larger moment. Small leverage changes can create large jumps in difficulty.
Leverage is why a wall push-up is easier than a floor push-up and a longer plank is harder than a short one. Adjust angles in small steps so the new variation still resembles the movement you want to improve.
Example: Lower the hand support during incline push-ups, move the feet farther from a suspension-row anchor, or move the elbows slightly farther forward in a body sway or long-lever plank.
4. Reduce Assistance
Use less help from a support, band, or second limb while keeping the main movement pattern intact. Reducing assistance is especially useful when the next unassisted variation is too large a jump.
Measure assistance with the same band, support height, foot position, or fingertip contact. Gradually use a lighter band, lower incline, or less hand pressure without letting balance replace muscular effort.
Example: Move from two-hand support to one-hand fingertip support during split squats, or progress from a high incline push-up to a lower stable surface.
5. Shift Toward Unilateral Work
Move from two-limb to split-stance, offset, assisted single-limb, or single-limb work. This directs a greater share of your body mass to one side without requiring a heavy external load.
Unilateral progressions demand more balance. Begin with support and match the weaker side. For lower-body exercises, a split squat is often more practical than jumping directly from a squat to a pistol squat.
Example: Progress a two-leg glute bridge to a staggered-stance bridge and then an assisted single-leg bridge, or move from squats to supported split squats.
6. Use Controlled Tempo, Pauses, or Isometrics
Slow the lowering phase, pause at a difficult position, or hold an isometric position to reduce momentum and increase time spent producing force. Tempo is a tool for control and difficulty, not a guarantee of superior results.
A review found that tempo changes repetitions, usable load, and time under tension, while no isolated slow or fast tempo is always best. Start with a three-second lowering phase or one-second pause.
Example: Turn a regular squat into a 3-second-lowering squat with a 1-second pause, or pause just above the floor during a push-up.
Use with care: Do not combine extremely slow reps with the same repetition target and expect the workload to remain equivalent. The longer tempo may require fewer reps.
7. Add a Set or More Weekly Volume
Add one work set when the current exercise is still productive but the total weekly stimulus is too low. Volume progression increases total work without changing the movement.
Add volume only when technique and recovery are stable. Add one set to one session rather than every exercise and workout. Persistent performance loss, joint irritation, or soreness that disrupts the next session suggests the increase was too large.
Example: Keep the same split squat variation and progress one weekly session from 2 sets to 3 while leaving the second session unchanged.
8. Add Secure External Resistance
Use a band, weight vest, dumbbell, or securely loaded backpack when bodyweight-only variations become awkward, excessively high-repetition, or limited by balance. Added load is still a valid progression for a bodyweight-based program.
External resistance increases demand in smaller increments while preserving a familiar exercise. A wide range of loads can support muscle growth when effort is sufficient, while heavier loading is generally more specific to maximal strength.
Example: Wear a properly fitted vest for push-ups, hold a dumbbell for split squats, or use a backpack whose contents are secured and cannot shift.
Use with care: Check seams, closures, floor clearance, and the exit path before the set. Never place loose or breakable objects on your back.
9. Reduce Rest or Increase Workout Density
Shorter rest makes the same work fit into less time and increases cardiovascular and local-fatigue demands. Use it mainly for work capacity, muscular endurance, or time-efficient conditioning.
Rest reduction does not necessarily make each repetition mechanically harder and may lower next-set quality. Keep the exercise, sets, and repetitions constant, then shorten rest in small steps if technique remains stable.
Example: Complete 3 rounds of squats, push-ups, rows, and planks in 22 minutes instead of 25 while preserving the same repetitions and exercise standards.
Use with care: If the goal is strength, first consider harder leverage, more range, or added resistance and allow enough rest for high-quality sets.
Mechanically Harder vs. Merely More Tiring
A mechanically harder exercise requires more force or torque from the target muscles on each repetition. A more tiring workout raises fatigue through shorter rest, faster transitions, or longer sets. Both can be useful, but they solve different problems.