A good beginner home workout routine does not need dozens of exercises or daily high-intensity sessions. Start with two full-body workouts per week, practice a small group of basic movements, and increase the challenge gradually as your technique and fitness improve.
The routine below takes about 20–30 minutes and uses body weight, a stable chair or counter, and an optional backpack or resistance band. It is designed for generally healthy adults who are new to structured exercise or returning after a long break—not for injury rehabilitation or condition-specific training.
Beginner Home Workout Routine at a Glance
Perform this full-body routine two or three times per week on nonconsecutive days. Start with one set per exercise during your first week, then build toward two sets if you recover comfortably and can maintain good technique.
| Plan detail | Beginner target |
|---|---|
| Frequency | 2–3 nonconsecutive days per week |
| Session length | About 20–30 minutes |
| Exercises | 6 full-body movements |
| Starting volume | 1–2 sets per exercise |
| Repetitions | Usually 6–15, depending on the exercise |
| Rest | About 60–90 seconds, or longer when needed |
| Effort | Finish most sets with 2–4 controlled repetitions remaining. |
| Equipment | Stable chair or counter; optional backpack or resistance band |
The 2026 American College of Sports Medicine (ACSM) resistance-training guidance emphasizes that consistency matters more than a complicated “perfect” program. It also recognizes bodyweight exercises, elastic bands, and home-based routines as useful training options for healthy adults. ACSM, 2026
Who Is This Routine For?
This plan is for generally healthy adults who want a manageable introduction to strength and general fitness at home. It works especially well for people who have limited space, little equipment, or difficulty following longer programs.
You can use the routine if you are:
- Completely new to structured exercise
- Returning after an extended period of inactivity
- Looking for a low-impact alternative to jumping-based circuits
- Trying to build strength, movement confidence, and a consistent habit
- Able to exercise independently without condition-specific supervision
The routine is not a personalized medical or rehabilitation program. If you have an injury, chronic health condition, disability, recent surgery, or other concern that affects exercise, ask an appropriate healthcare or exercise professional how to modify your activity.
What Do You Need to Work Out at Home?
You need enough clear floor space to lie down and extend your arms, plus a stable support for easier squats, lunges, and push-ups. A gym membership and specialized machines are not required.
Useful items include:
- A stable chair placed where it cannot slide
- A wall, countertop, or sturdy table edge for incline push-ups
- An exercise mat or folded towel for floor comfort
- A securely closed backpack loaded with soft, nonbreakable items
- An optional resistance band in good condition
Inspect your space before starting. Remove loose rugs and nearby objects, wear footwear appropriate for the surface, and do not use unstable furniture. If you use a backpack, close every compartment and avoid sharp, fragile, or shifting objects. Inspect resistance bands for cracks or damage before each session.
The Honest Limitation of No-Equipment Training
Bodyweight training makes squats, lunges, bridges, push-ups, and core exercises easy to perform at home, but training the pulling muscles of the upper back is harder without resistance. A backpack row or resistance-band row provides a more direct pulling exercise.
A prone W raise can be used temporarily when no resistance is available, but it is not an equal replacement for a progressively loaded row. Avoid improvising rows from doors, tables, sheets, or furniture unless the setup is specifically designed and verified to support your full body weight.
Start With a Five-Minute Warm-Up
A short warm-up should gradually increase movement and let you practice easier versions of the exercises ahead. It does not need to be exhausting or complicated.
Complete the following movements at a comfortable pace:
- March in place: 60 seconds
- Arm circles and reaches: 30 seconds in each direction
- Slow hip hinges: 8 repetitions
- Chair sit-to-stands: 8 repetitions
- Wall push-ups: 6 controlled repetitions
- Ankle rocks or heel raises: 8 repetitions per side
The goal is to feel warmer and more coordinated, not tired. Reduce the range of motion or hold a stable support if any movement feels difficult.
The Full-Body Beginner Home Workout Routine
This routine trains the main movement patterns with six beginner-friendly exercises. Complete all sets of one exercise before moving to the next, or perform one set of each as a slow circuit if that feels more enjoyable.
| Exercise | Sets | Repetitions | Easier option |
|---|---|---|---|
| Chair squat or sit-to-stand | 1–2 | 8–12 | Use a higher chair and your hands if needed |
| Wall or incline push-up | 1–2 | 6–12 | Use a higher surface |
| Backpack or resistance-band row | 1–2 | 8–15 | Use less resistance; prone W raise if none is available |
| Glute bridge | 1–2 | 10–15 | Use a comfortable, shorter range |
| Supported reverse lunge or split squat | 1–2 | 6–10 per side | Use support or repeat chair squats |
| Bird dog or dead bug | 1–2 | 6–10 per side | Move one limb at a time |
Rest for about 60–90 seconds between sets. Take longer if your breathing has not settled or you cannot begin the next set with control.
1. Chair Squat or Sit-to-Stand
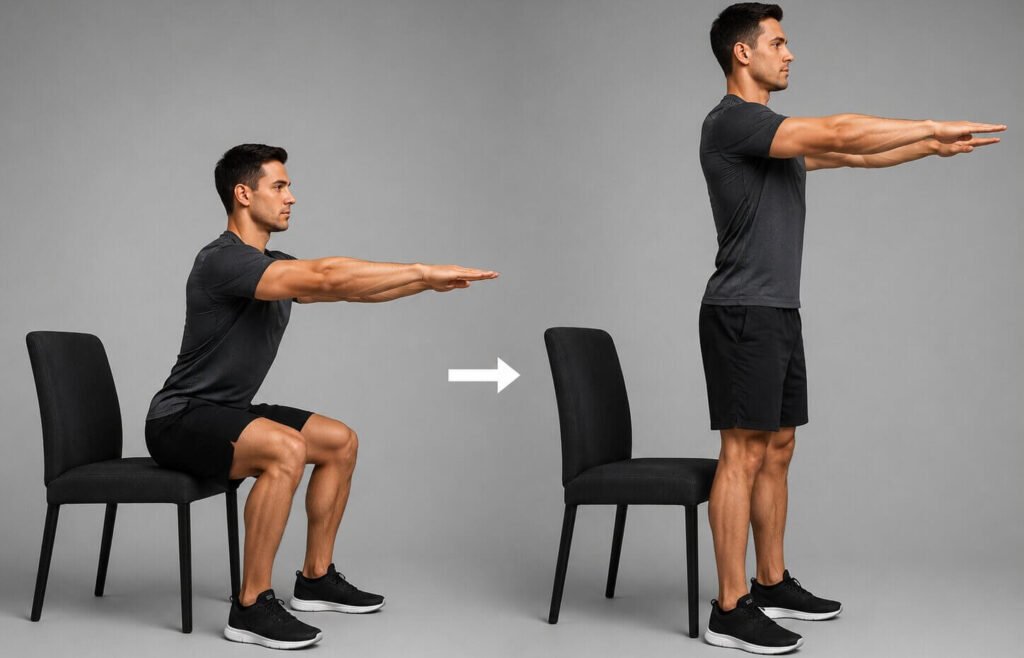
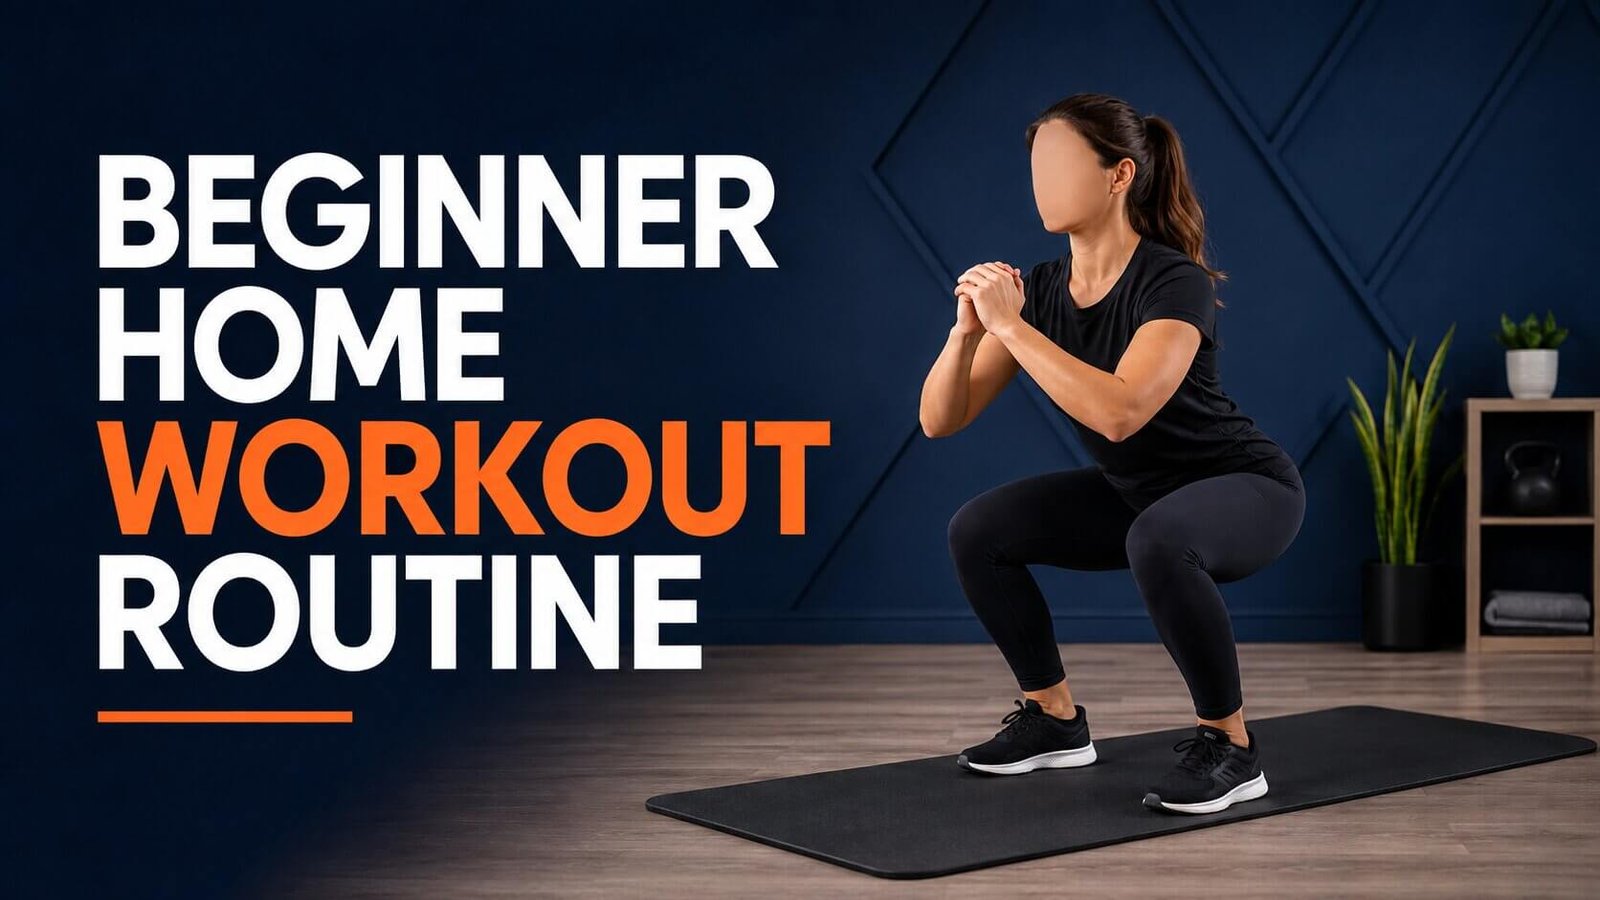
The chair squat trains the hips and legs while providing a clear depth target and a stable starting position. Choose a chair height that lets you stand without dropping, rocking, or pushing through discomfort.
Stand with your feet in a comfortable position in front of the chair. Reach your hips back, bend your knees, and lower under control until you lightly touch the seat. Press through your whole foot to stand. Keep your knees generally moving in the same direction as your toes.
Make it easier by using a higher seat or lightly assisting with your hands. Make it harder by slowing the lowering phase, pausing above the chair, or holding a light backpack against your chest.
2. Wall or Incline Push-Up
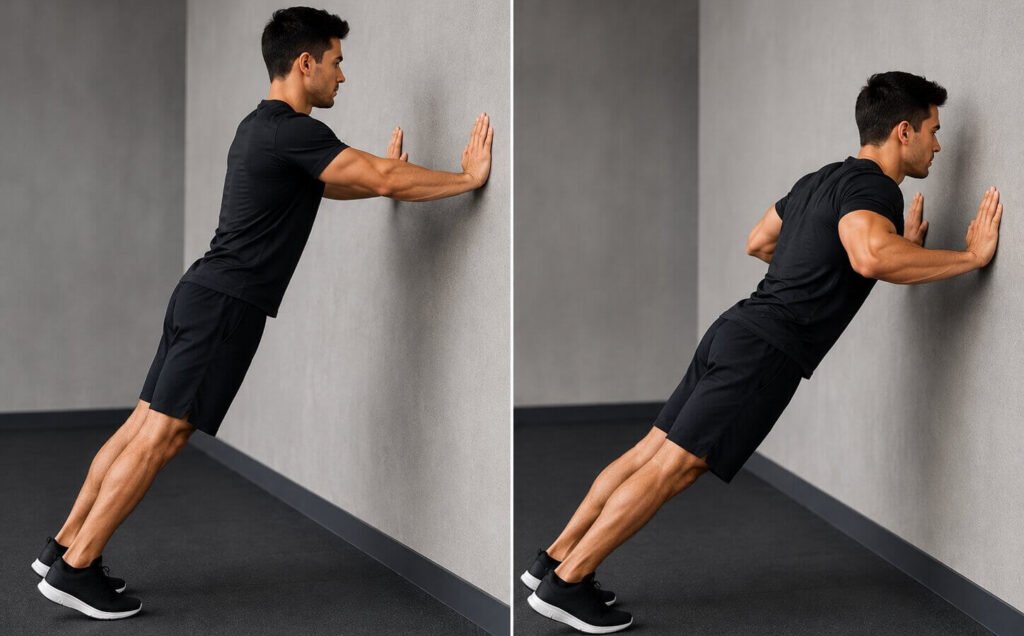
An elevated push-up trains the chest, shoulders, triceps, and trunk without requiring a floor push-up. The higher the surface, the less body weight you need to lift.
Place your hands on a wall or stable surface slightly wider than shoulder-width. Walk your feet back, keep your body in a straight line, and bend your elbows to bring your chest toward the surface. Press away without letting your hips sag or your shoulders shrug.
Begin at a height where you can complete at least six controlled repetitions. Progress by using a lower surface before attempting full floor push-ups.
3. Backpack or Resistance-Band Row
Rows train the upper back and arms, balancing the pushing work in the routine. Use a light resistance that you can control without twisting or jerking.
For a one-arm backpack row, place one hand on a stable support, hinge at your hips, and keep your back in a comfortable neutral position. Pull the backpack toward the side of your torso, pause briefly, and lower it slowly. Repeat on both sides.
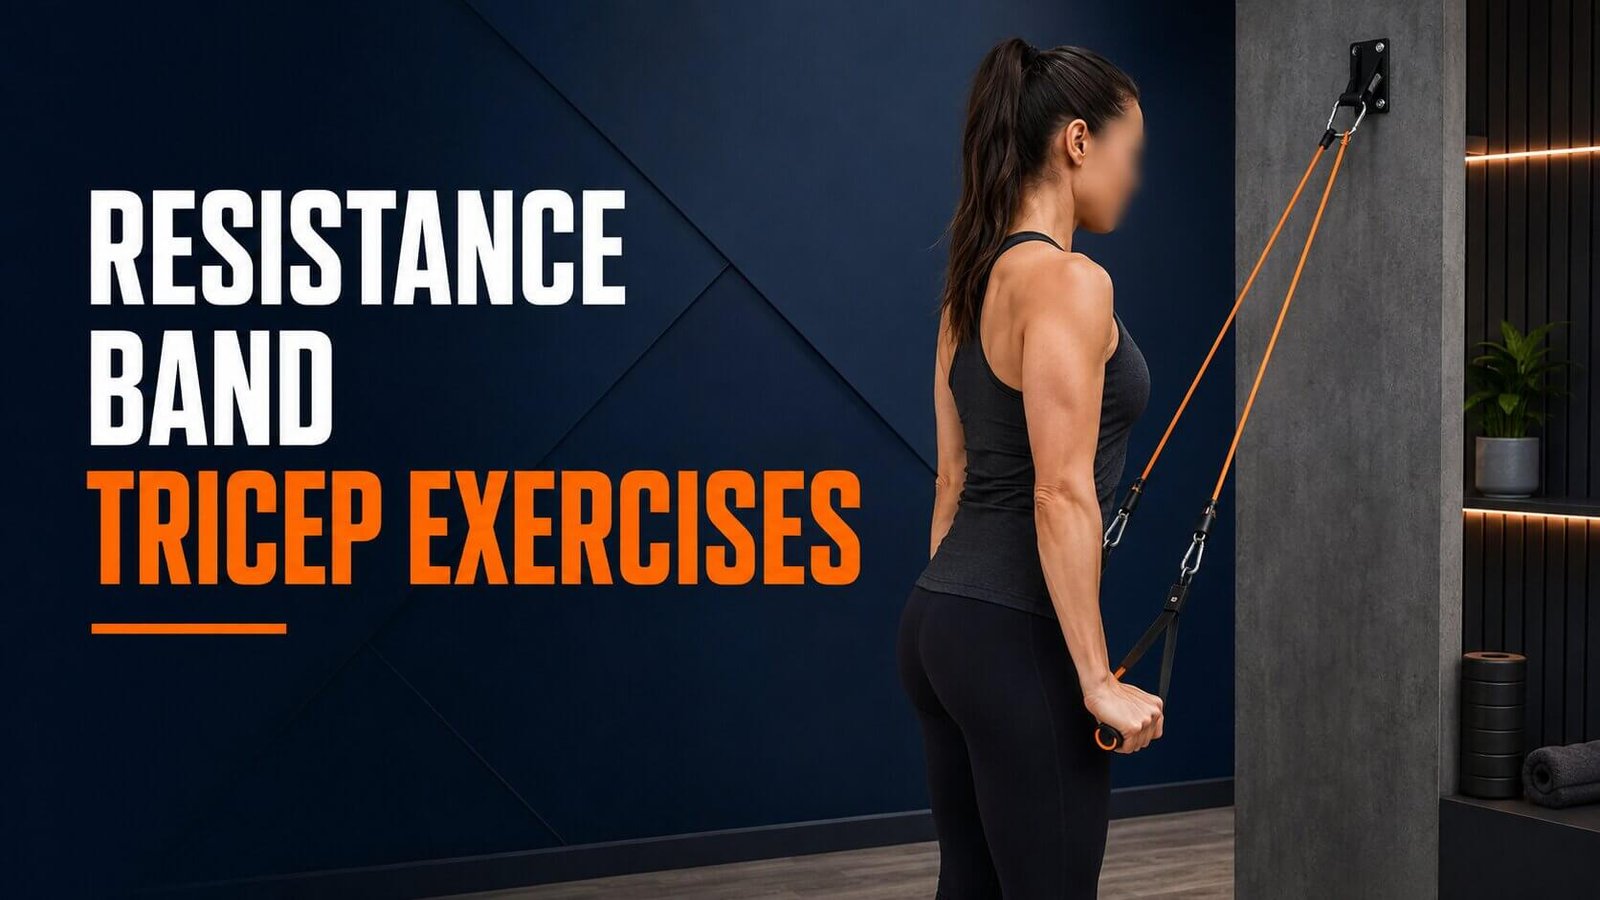
For a band row, use a setup intended for the band and follow the manufacturer’s anchoring instructions. Do not rely on a loose or unverified door setup. If you have no safe resistance, perform prone W raises for shoulder-blade control while planning to add a suitable pulling option later. See this resistance-band home training guide for more exercise and progression options.
4. Glute Bridge
The glute bridge trains the hips while keeping both feet and the upper body supported on the floor. It is a useful introduction to hip extension, a movement used in walking, climbing stairs, and lifting objects.
Lie on your back with your knees bent and feet flat. Gently brace your trunk, press through your feet, and lift your hips until your torso and thighs form a comfortable line. Pause, then lower with control. Avoid forcing your lower back into an exaggerated arch.
Make the exercise harder by adding a pause at the top or performing more controlled repetitions. Do not rush to a single-leg variation until the standard version feels stable.
5. Supported Reverse Lunge or Split Squat
A supported lunge trains each leg separately and adds a balance challenge. Holding a stable counter or chair can make the movement more manageable without removing its training value.
For a reverse lunge, step one foot back and lower only as far as you can control. Push through the front foot to return. For a split squat, keep both feet in place and move straight down and up through a comfortable range.
If either variation feels too difficult, repeat the chair squat for a second set instead. A beginner routine should match your present ability; no individual exercise is mandatory.
6. Bird Dog or Dead Bug
Bird dogs and dead bugs train trunk control while your arms and legs move. The goal is steady positioning, not speed or an extreme range of motion.
For a bird dog, begin on your hands and knees. Extend one leg, one arm, or the opposite arm and leg without rotating your torso. For a dead bug, lie on your back with your hips and knees bent, then slowly lower one heel or extend the opposite arm and leg while keeping your trunk controlled.
Start by moving one limb at a time. Use a smaller range if your back position changes or you need to hold your breath.
A Simple Four-Week Beginner Workout Schedule
The first four weeks should build skill and consistency rather than maximize fatigue. Repeat the same basic routine long enough to learn the exercises and judge whether they are becoming easier.
| Week | Strength schedule | Starting goal |
|---|---|---|
| 1 | Monday and Thursday | 1 set per exercise; learn the movements |
| 2 | Monday and Thursday | Build toward 2 sets where recovery is comfortable |
| 3 | Monday and Thursday; optional Saturday | Maintain 2 sets and add controlled repetitions |
| 4 | Monday, Wednesday, and Friday, or remain at 2 days | Progress one variable in one or two exercises |
The third weekly strength session is optional. Staying with two sessions is appropriate if you are still experiencing substantial soreness, struggling with technique, or finding three days difficult to maintain.
Use non-strength days for rest, easy walking, or another comfortable activity. Avoid treating a missed day as failure—continue with the next planned session instead of doubling your workload.
How Many Sets and Repetitions Should Beginners Do?
One or two sets of each exercise is a practical starting point. Use a repetition range rather than forcing the same number on every movement, because different exercises and modifications create different levels of difficulty.
For example, you might perform eight chair squats, six incline push-ups, and twelve glute bridges. Those numbers are useful if each set remains controlled and moderately challenging. They are not targets you must reach at the expense of technique. Readers with a specific strength or muscle goal can also review this guide to choosing the right repetition range.
How Hard Should Each Set Feel?
Finish most beginner sets when you can still perform approximately 2 to 4 good repetitions. The last repetitions should require focus, but they should not involve breath-holding, jerking, or a major change in technique.
Training to complete muscular failure is not required for the average healthy adult. ACSM’s 2026 evidence review found that advanced techniques, including routinely training to momentary failure, are often unnecessary for general health and fitness. ACSM, 2026
How Long Should You Rest?
Rest about 60–90 seconds between beginner sets, but treat this as a flexible starting range. Larger exercises such as squats and lunges may require more rest than bird dogs or wall push-ups.
Begin the next set when your breathing is under control and you can concentrate on technique. Shortening every rest period may make a workout feel harder without making it more productive.