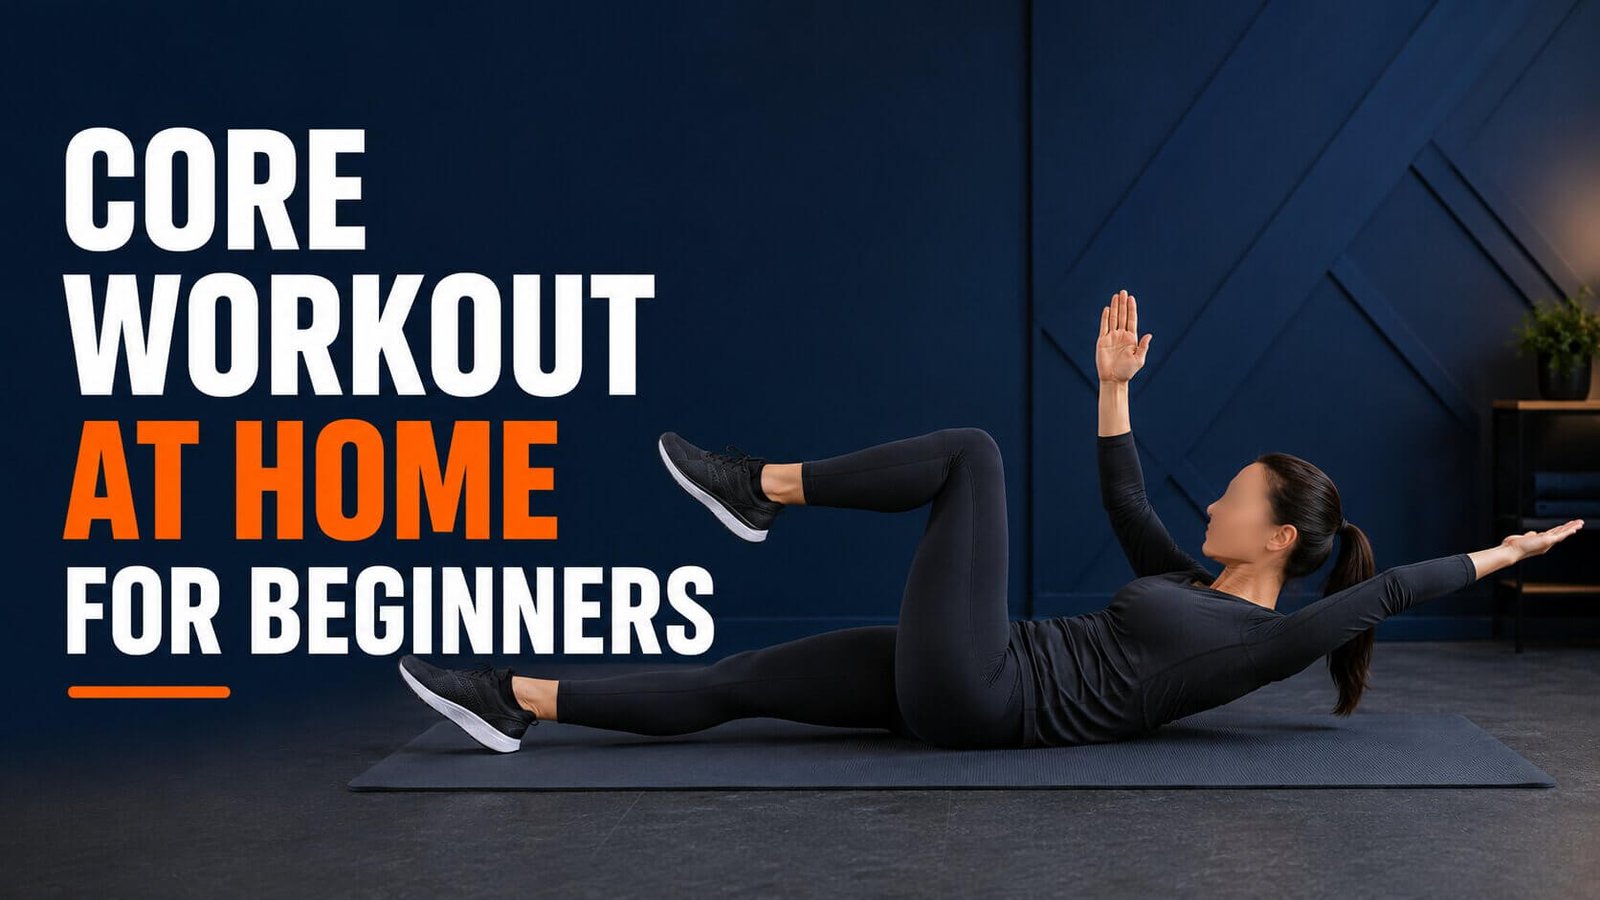
A beginner core workout at home can include dead bugs, bird dogs, glute bridges, knee forearm planks, and bent-knee side planks. Complete two controlled rounds, two or three times per week; the full routine takes about 15 minutes and requires no equipment.
You do not need dozens of crunches or long plank holds to start building core strength. A better starting point is learning to keep your trunk steady while your arms, legs, and hips move.
The routine below uses five beginner-friendly exercises and includes easier options for each movement. Focus on slow, controlled reps, steady breathing, and stopping the set if you can no longer maintain good trunk position.
Safety note: This routine is written for generally healthy adults. Stop if an exercise causes sharp or increasing pain, numbness, tingling, dizziness, or unusual shortness of breath. If you are pregnant or recently postpartum, recovering from surgery, or managing a hernia, pelvic-floor concern, or diagnosed back condition, ask an appropriate healthcare professional for individualized guidance.
What Muscles Make Up Your Core?
Your core includes more than the visible abdominal muscles. In practical terms, it is the group of muscles around your trunk and pelvis that helps you bend, rotate, transfer force, and resist unwanted movement.
Definitions vary, but core training commonly involves the:
- Rectus abdominis at the front of the abdomen
- Internal and external obliques along the sides
- Transverse abdominis, a deeper abdominal muscle
- Spinal extensors and smaller stabilizing muscles around the spine
- Diaphragm and pelvic-floor muscles
- Glutes and other hip muscles during integrated movements
These muscles work together. During a bird dog, your trunk resists twisting as opposite limbs move; during a plank, it helps keep your ribs, pelvis, and spine controlled. For a beginner, that control is more useful than chasing the strongest possible “ab burn.”
The 15-Minute Beginner Core Workout
Complete this routine as two straight, controlled rounds. Move slowly enough to notice whether your ribs, pelvis, and lower back remain steady.
Workout Summary
| Exercise | Sets | Beginner Target | Rest |
|---|---|---|---|
| Dead bug | 2 | 6–8 reps per side | 30–60 seconds |
| Bird dog | 2 | 6–8 reps per side | 30–60 seconds |
| Glute bridge | 2 | 10–12 reps | 30–60 seconds |
| Knee-forearm plank | 2 | 15–25 seconds | 30–60 seconds |
| Bent-knee side plank | 2 | 10–20 seconds per side | 60–90 seconds before the next round |
Recommended schedule: Two or three nonconsecutive days per week
Equipment: None; an exercise mat or folded towel is optional
Effort: Finish each set while you could still perform about two controlled repetitions, or hold the position for another five to ten seconds
These are starting ranges, not tests. Use fewer repetitions or a shorter hold if your form changes. Someone completely new to exercise can complete one round during the first week.
Two-Minute Preparation
A long warm-up is unnecessary, but a few easy movements can help you practice breathing and find a comfortable range.
- Relaxed floor breathing: Lie on your back with your knees bent. Take three slow breaths into your lower ribs and abdomen.
- Gentle pelvic tilts: Slowly alternate between a small lower-back arch and gently flattening your lower back. Perform six controlled repetitions.
- Cat-cow: From your hands and knees, slowly round and extend your spine through a comfortable range for six repetitions.
Do not force the range; these movements are preparation, not a flexibility test.
How to Perform Each Exercise
Use the easiest variation that allows normal breathing and stable form. A simpler movement performed well is better than an advanced variation performed poorly.
1. Dead Bug
The dead bug teaches you to resist excessive lower-back arching while your limbs move. The floor provides useful feedback about your trunk position.
How to do it:
- Lie on your back with your arms pointing toward the ceiling.
- Bend your hips and knees to about 90 degrees so your knees are above your hips.
- Exhale gently and tighten your midsection without forcing your lower back hard into the floor.
- Slowly lower one heel and the opposite arm toward the floor.
- Stop before your ribs lift or your lower back arches farther.
- Return to the starting position and repeat on the other side.
Make it easier: Keep your arms still and tap one heel to the floor at a time. You can also reduce how far the leg travels.
Make it harder: Straighten the moving leg gradually or pause just above the floor. Increase the range only if your trunk stays controlled.
NASM describes the dead bug as a foundational stability movement built around alternating limb motion and resistance to spinal extension. Its dead bug exercise guide also provides a useful technique reference.
2. Bird Dog
The bird dog develops cross-body coordination while your core resists arching and rotation. The goal is to keep your trunk quiet—not lift your limbs as high as possible.
How to do it:
- Begin on your hands and knees, with your hands under your shoulders and knees under your hips.
- Keep your neck in a comfortable, neutral position.
- Tighten your midsection gently.
- Reach one arm forward and the opposite leg back.
- Keep both hip bones facing the floor and avoid shifting your weight sharply to one side.
- Pause briefly, return with control, and switch sides.
Make it easier: Move only an arm or only a leg. If kneeling is uncomfortable, place a folded towel under your knees.
Make it harder: Add a two- or three-second pause without increasing the height of your arm or leg.
ACE recommends limiting the range to what you can control without sagging or rotating through the lower back. That makes limb height a poor measure of success; stable positioning is the better standard. See the ACE bird-dog instructions.
3. Glute Bridge
The glute bridge trains your hips and trunk together. Your glutes create the movement while your abdomen helps limit excessive lower-back arching.
How to do it:
- Lie on your back with your knees bent and feet flat, about hip-width apart.
- Place your arms comfortably beside you.
- Exhale, tighten your midsection, and press through your feet.
- Squeeze your glutes as you raise your hips.
- Stop when your shoulders, hips, and knees form a comfortable line. Do not push higher by arching your back.
- Pause briefly and lower slowly.
Make it easier: Use a smaller range of motion or move your feet slightly closer to your hips.
Make it harder: Slow the lowering phase to three seconds or progress to a bridge march after you can keep your pelvis level.
The ACE glute bridge guide emphasizes keeping the abdominal muscles engaged and avoiding excessive lower-back arching.
4. Knee Forearm Plank
The knee-forearm plank builds front-core endurance with less demand than a full plank. A short, controlled hold is enough.
How to do it:
- Place your forearms on the floor with your elbows under your shoulders.
- Keep your knees on the floor and extend your hips until your body forms a straight line from your head to your knees.
- Gently squeeze your glutes and tighten your abdomen.
- Press the floor away through your forearms without rounding your upper back excessively.
- Breathe quietly and hold for 15–25 seconds.
- Stop if your hips drop, your lower back arches, or you must hold your breath.
Make it easier: Perform a standing plank with your forearms against a wall or with your hands on a stable counter.
Make it harder: Extend one leg at a time, then progress to a full forearm plank when you can maintain the same position.
ACE’s front-plank exercise guide similarly prioritizes alignment and abdominal bracing rather than simply extending the hold.
5. Bent-Knee Side Plank
The bent-knee side plank trains the side of your trunk and hips. Its shorter lever is more manageable than a straight-leg side plank.
How to do it:
- Lie on one side with your knees bent and your elbow under your shoulder.
- Stack or stagger your knees in a comfortable position.
- Tighten your abdomen and press your forearm and lower knee into the floor.
- Lift your hips until your head, shoulders, hips, and knees form a straight line.
- Breathe normally and hold for 10–20 seconds.
- Lower with control and repeat on the other side.
Make it easier: Use a shorter hold or keep more of your lower leg on the floor. If the position irritates your shoulder, use a standing side brace against a wall instead.
Make it harder: Straighten the top leg first. Later, progress to a side plank with both legs straight.
How to Engage Your Core
Engaging your core means creating enough tension to control your trunk while continuing to breathe. It does not require sucking in your stomach, pressing your back flat with maximum force, or holding your breath.
Use this simple sequence:
- Set your position. Place your ribs roughly over your pelvis instead of flaring the rib cage upward.
- Exhale gently. A relaxed exhale can make it easier to feel the abdominal wall tighten.
- Brace lightly. Imagine preparing for someone to press gently against your abdomen from the front and sides.
- Keep breathing. Maintain only as much tension as the movement requires.
- Reduce the range if needed. If your ribs lift, pelvis rotates, or lower back changes position significantly, make the exercise easier.
Effort around your midsection is normal, but position, breathing, and control are better checkpoints than sensation alone.
Four-Week Progression Plan
Progress gradually by changing one factor at a time. Complete the same level with good form in two workouts before adding repetitions, time, range, or difficulty.
| Week | Sets | Reps and Holds | Main Goal |
|---|---|---|---|
| 1 | 1–2 | Lowest end of each range | Learn positions and breathe normally |
| 2 | 2 | Add 1–2 reps or 5 seconds where controlled | Build consistency |
| 3 | 2 | Use a slightly larger range or a small pause | Improve control |
| 4 | 2–3 | Add one set or progress one exercise | Increase total work gradually |
Do not progress every exercise at once. Add two dead-bug repetitions, for example, while leaving the other movements unchanged. Return to the previous level if the form deteriorates.
Muscle soreness is not required for progress. Your best signs of improvement are smoother repetitions, longer holds with normal breathing, a larger controlled range, and the ability to complete more work without losing position.
How Often Should Beginners Train Their Core?
Most beginners can perform this core workout two or three times per week on nonconsecutive days. If your full-body workouts already include squats, hinges, carries, push-ups, and rows, one or two short direct-core sessions may be enough.
The current U.S. physical activity guidance recommends muscle-strengthening work for all major muscle groups on at least two days each week. It also advises inactive adults to start with manageable amounts and build gradually. See the Physical Activity Guidelines for Americans.
ACSM’s 2026 resistance-training update reinforces a similar practical message: regular participation matters more than building an unnecessarily complex program, and bodyweight or home-based training can improve strength and physical function. The program should still match the person’s ability, goals, and safety needs. Read the ACSM resistance-training guideline summary.
You can place this routine.
- After a short beginner home workout
- At the end of a full-body bodyweight workout
- On a separate day between full-body sessions
- As a 10- to 15-minute movement break when you are not fatigued
Avoid turning every session into a maximum-effort test. Your trunk muscles also need recovery when training becomes challenging.
Common Beginner Core Workout Mistakes
Most mistakes come from excessive difficulty, speed, or fatigue. Correcting those factors often matters more than changing exercises.
Moving Too Quickly
Fast repetitions can hide poor control. Slow down and make each repetition look similar.
Chasing a Burning Sensation
A strong burn is not required. End the set based on position and control, not discomfort.
Holding Your Breath
Breath-holding is unnecessary here. Reduce the difficulty until you can breathe quietly while maintaining tension.
Letting the Lower Back Arch
Uncontrolled arching often means the range is too large. Shorten the lever, reduce the range, or choose an easier variation.
Starting With Advanced Exercises
V-ups, hollow holds, fast mountain climbers, and rotating side planks are not required starting points. Build control with simpler variations first.
Training Only the Abs
A short core routine does not train every major muscle group. Combine it with a balanced home strength-training plan that includes lower-body, pushing, and pulling movements.
Increasing Everything at Once
Adding sets, reps, longer holds, and harder variations together makes recovery difficult to judge. Progress one variable at a time.
What Core Workouts Can and Cannot Do
Core exercises can build local strength, endurance, coordination, and control. They cannot guarantee pain relief, permanently “fix” posture, or determine where your body loses fat.
Core Training and Belly Fat
Training the abdominal muscles can make those muscles stronger, but it is not a reliable stand-alone method for reducing abdominal fat. In a six-week trial, abdominal exercise improved abdominal endurance but did not significantly reduce abdominal subcutaneous fat or other body-composition measures. See the study in the Journal of Strength and Conditioning Research.
This does not make exercise unhelpful. It means training the muscles beneath one area does not reliably determine where fat changes occur. Overall activity, resistance training, nutrition, sleep, and individual biology all matter.
Core Training and Back Pain
Core exercise may appear in supervised back-pain programs, but a generic routine is not a diagnosis or treatment. The appropriate exercise depends on symptoms, health history, and individual response.
Stop the exercise if pain increases or travels into an arm or leg, or if you experience numbness or tingling. Persistent or concerning symptoms deserve assessment from a qualified healthcare professional.
Core Training and Posture
Stronger trunk muscles may help you maintain positions, but posture also reflects habit, comfort, mobility, fatigue, environment, and anatomy. No single posture must be held all day.
Use core training to expand your movement capacity—not to force your body into one rigid position.
Practical Recommendations
Use these rules to keep the routine simple and sustainable:
- Choose a variation that causes no sharp pain.
- Keep breathing throughout the set.
- End the set before your position repeatedly changes.
- Repeat the same plan long enough to learn it.
- Progress one exercise or variable at a time.
- Leave at least one recovery day between challenging core sessions.
- Combine direct-core work with a balanced three-day full-body plan or another whole-body routine.
- Keep a basic training note with the variation, repetitions, hold time, and any discomfort.
A controlled 12-second side plank is better than a 30-second hold with a collapsing shoulder and rotating pelvis.
Frequently Asked Questions
What is the best core exercise for a beginner?
There is no single best exercise for everyone. The dead bug is a useful starting point because the floor supports you, while the other movements train different types of trunk control.
Is a 15-minute core workout enough?
Yes. Fifteen minutes can be enough when you train consistently and progress gradually. More time is not better if fatigue makes your form deteriorate.
Can beginners train their core every day?
Daily hard sessions are usually unnecessary. Two or three weekly workouts give most beginners practice and recovery. Gentle bracing practice can be done more often if it causes no pain or significant fatigue.
How long should a beginner hold a plank?
Start with a variation you can hold for 10–25 seconds while breathing normally. Add about five seconds when every set remains controlled.
Do I need to perform crunches?
No. Crunches can be a valid trunk-flexion exercise if tolerated, but they are not mandatory. This routine uses scalable stability movements instead.
Why do I feel a core exercise in my hip flexors?
Some hip-flexor effort during leg-lowering movements is normal. If it dominates or your back arches, shorten the range, bend your knees, or use heel taps.
What if planks hurt my wrists?
Use a forearm, wall, or stable-counter plank. Stop rather than forcing the position if discomfort persists.
Can this workout give me visible abs?
It can strengthen your trunk, but visible definition also depends on body-fat distribution, muscle development, genetics, and overall lifestyle. No routine can promise a particular appearance.
Conclusion
The best core workout at home for beginners is one you can perform with control, repeat consistently, and progress without pain. Start with two rounds of dead bugs, bird dogs, glute bridges, knee forearm planks, and bent-knee side planks two or three times per week.
Keep the first few sessions deliberately manageable. When you can breathe normally and maintain your position across every set, add a small amount of work to one exercise. That simple process is more useful than constantly changing routines or chasing longer, harder circuits.
For your next step, combine this routine with a balanced beginner home workout planHow to Build Muscle at Home: Beginner Workout Plan so your legs, chest, back, shoulders, arms, and core develop together. How to Build Muscle at Home: Beginner Workout PlanHow to Build Muscle at Home: Beginner Workout Plan