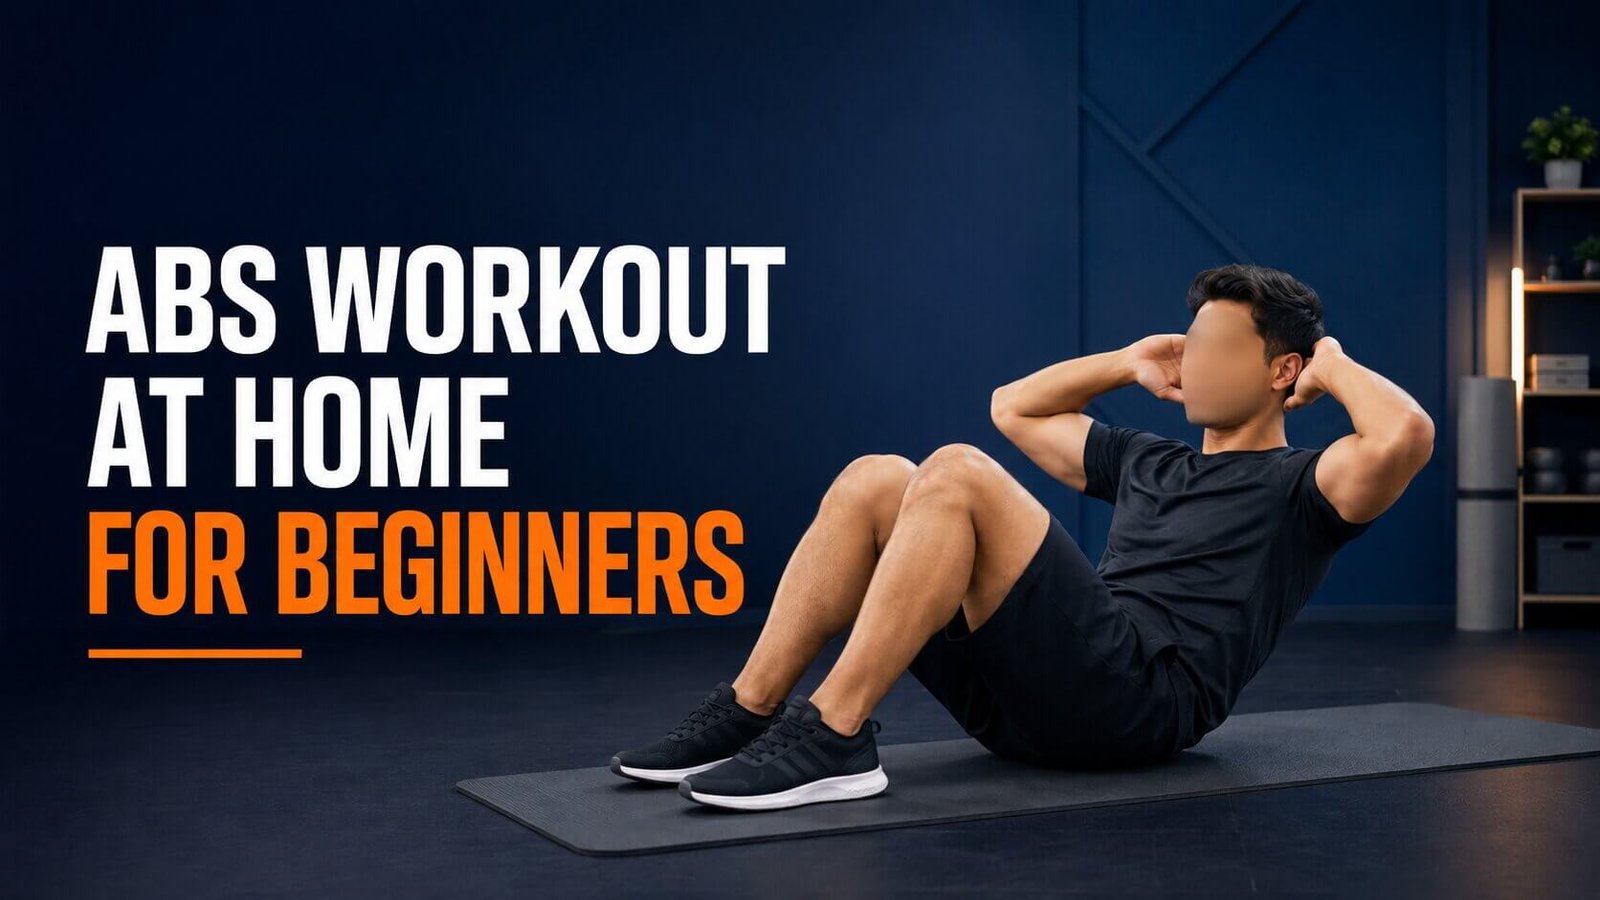
A simple beginner ab workout at home can include heel slides, modified crunches, reverse crunches, heel reaches, and bent-knee toe taps. Complete one or two controlled rounds, two or three times per week, using a comfortable range of motion and stopping before your technique starts to break down.
You do not need advanced planks or high-repetition sit-ups to start training your abs. A useful beginner routine focuses on controlled movements, manageable repetition targets, and enough rest to maintain good form.
The workout below takes about 10 minutes and requires only a comfortable floor or exercise mat. It trains abdominal flexion, pelvic control, lateral flexion, and your ability to limit excessive lower-back arching, giving beginners a balanced starting point without making the routine unnecessarily complicated.
Safety note: This workout is intended for generally healthy adults. Stop if an exercise causes sharp or increasing pain, numbness, tingling, dizziness, or unusual shortness of breath. Seek individualized guidance if you are pregnant or recently postpartum, recovering from surgery, or managing a hernia, pelvic-floor concern, or diagnosed neck or back condition.
What Is the Difference Between Abs and Core?
Your abs are part of your core, but the terms are not identical. “Abs” usually refers to the abdominal wall, while “core” describes a broader group of muscles around the trunk and pelvis.
The main abdominal muscles include:
- Rectus abdominis: The long muscle at the front of the abdomen that flexes the trunk and helps control the pelvis.
- External and internal obliques: Muscles along the sides of the abdomen that assist with rotation, side bending, and trunk control.
- Transverse abdominis: A deeper abdominal muscle that contributes to abdominal tension and trunk stability.
The broader core also includes spinal, breathing, pelvic-floor, and hip muscles. A beginner core workout therefore includes bird dogs, bridges, and planks. This article is narrower: it provides direct, floor-based abdominal work without loading the wrists.
The rectus abdominis is one paired muscle, not separate “upper” and “lower” muscles. Crunches and reverse crunches use different movements, but neither isolates one half completely.
The 10-Minute Beginner Ab Workout
Complete the exercises in order for one or two rounds. Use deliberate repetitions instead of racing against a timer.
| Exercise | Sets | Beginner Target | Rest |
|---|---|---|---|
| Abdominal brace with heel slide | 1–2 | 6–8 per side | 30 seconds |
| Modified crunch | 1–2 | 8–12 reps | 30–45 seconds |
| Bent-knee reverse crunch | 1–2 | 6–10 reps | 30–45 seconds |
| Alternating heel reach | 1–2 | 8–12 per side | 30–45 seconds |
| Bent-knee toe tap | 1–2 | 6–10 per side | 60 seconds before another round |
Recommended frequency: Two or three nonconsecutive days per week
Equipment: An exercise mat or comfortable floor
Effort: Stop while you could still complete about two controlled repetitions
Start with one round if you have not trained recently. Two rounds take about 10–12 minutes. Rest longer when needed; shorter rest is not automatically better.
How to Choose the Right Difficulty
The correct variation meets three standards:
- You feel no sharp or increasing pain.
- You can breathe throughout the movement.
- Your repetition range and body position remain consistent.
If one fails, reduce the range or use the easier option. Match difficulty to your control, not someone else’s performance.
How to Perform Each Ab Exercise
These exercises train different abdominal actions. Each includes an easier and harder option.
1. Abdominal Brace With Heel Slide
The heel slide teaches you to maintain abdominal tension while one leg moves. The floor provides feedback if your pelvis or back shifts.
How to do it:
- Lie on your back with your knees bent and feet flat.
- Let your arms rest beside you.
- Exhale gently and tighten your abdomen as if preparing for light pressure from the front and sides.
- Slowly slide one heel away until your leg is almost straight, or until you feel your back begin to arch.
- Slide the foot back and repeat on the other side.
Make it easier: Use a shorter slide and keep the heel close to your hips.
Make it harder: Pause with the leg extended or let the heel hover slightly above the floor.
Common error: Forcing the leg straight after the ribs or lower back moves. Use only a controlled range.
2. Modified Crunch
The modified crunch trains trunk flexion. Lift only your head and shoulder blades; a full sit-up is unnecessary.
How to do it:
- Lie on your back with your knees bent and feet flat.
- Cross your arms over your chest or place your fingertips lightly behind your ears.
- Keep a small, comfortable space between your chin and chest.
- Exhale and curl your ribs toward your pelvis until your shoulder blades begin to leave the floor.
- Pause briefly, then lower slowly without dropping your head.
Make it easier: Reach your hands toward your thighs and lift through a smaller range.
Make it harder: Use a three-second lowering phase or pause at the top for two seconds. Do not add speed.
Avoid pulling your head. ACE’s beginner crunch instructions also emphasize controlled flexion rather than pulling with the arms.
3. Bent-Knee Reverse Crunch
The reverse crunch uses a small pelvic curl, not a large leg swing. Avoid throwing your knees toward your chest.
How to do it:
- Lie on your back with your knees bent and feet lifted.
- Place your arms beside you with your palms down for light support.
- Bring your knees above your hips and keep them comfortably bent.
- Exhale and gently curl your pelvis so your tailbone lifts slightly from the floor.
- Lower slowly until your pelvis returns to the mat.
Make it easier: Keep one foot on the floor and practice a small pelvic tilt.
Make it harder: Pause for two seconds at the top or lower your feet slightly farther between repetitions.
Keep the movement small. The ACE reverse-crunch guide also advises curling the pelvis without momentum.
4. Alternating Heel Reach
Alternating heel reaches train controlled side-bending and the obliques. Reach toward one heel at a time.
How to do it:
- Lie on your back with your knees bent and feet flat, slightly wider than hip-width.
- Place your arms beside you and lift your shoulder blades slightly.
- Reach your right hand toward your right heel by bending gently to the side.
- Return to the center, then reach toward your left heel.
- Keep alternating without pulling your chin tightly toward your chest.
Make it easier: Keep your head on the floor or move your feet closer to your hips.
Make it harder: Move your feet slightly farther away or pause briefly at each heel. Do not rock rapidly from side to side.
If your neck tires first, support your head lightly and train one side before switching.
5. Bent-Knee Toe Tap
The bent-knee toe tap challenges your abs to limit back arching as one foot lowers. Bent knees make it easier than straight-leg lowering.
How to do it:
- Lie on your back with your hips and knees bent to about 90 degrees.
- Keep your arms resting beside you.
- Exhale and create light abdominal tension.
- Lower one foot until the toes gently touch the floor.
- Return to the starting position and repeat on the other side.
- Stop the downward movement before your ribs flare or lower back arches farther.
Make it easier: Lower only the heel through a short range or keep one foot on the floor.
Make it harder: Tap the heel farther away from your hips or slow each lowering phase to three seconds.
Some hip-flexor effort is normal. Reduce the range if it dominates or you lose trunk position.
How to Engage Your Abs
Engaging your abs means creating enough tension to control your ribs and pelvis while breathing. It does not require pulling your stomach inward forcefully or holding your breath.
Try this sequence before each exercise:
- Let your ribs and pelvis settle into a comfortable position.
- Take a quiet breath into the front and sides of your abdomen.
- Exhale gently and tighten your midsection as if preparing for someone to press lightly against it.
- Maintain part of that tension as you inhale again.
- Begin the repetition and reduce the range if you lose control.
You do not need to force your back completely flat. The goal is to prevent a large, uncontrolled change as you move.
Four-Week Beginner Progression Plan
Progress only after you can complete the current version without pain, breath-holding, or visible loss of control. Change one training variable at a time.
| Week | Volume | Progression Goal |
|---|---|---|
| 1 | 1 round | Learn the movements at the lowest rep targets |
| 2 | 2 rounds | Repeat the same variations with consistent form |
| 3 | 2 rounds | Add 1–2 reps or a brief pause to selected exercises |
| 4 | 2–3 rounds | Add one round or progress one exercise—not both |
For example, add two crunch repetitions while leaving the other exercises unchanged. If you add a third round, return to the lower rep targets.
Do not use soreness as your progress test. Smoother repetitions, better breathing, more controlled range, and modest increases in work are more useful signs.
How Often Should Beginners Train Their Abs?
Two or three direct ab sessions per week are enough for most beginners. Your abs also work during full-body exercises, so you may need less direct volume when you already perform squats, hinges, push-ups, and rows.
The U.S. Physical Activity Guidelines for Americans recommend muscle-strengthening activity for all major muscle groups on at least two days per week. They also encourage inactive adults to start with manageable amounts and build gradually.
ACSM’s updated guidance emphasizes consistency and recognizes bodyweight and home-based resistance training as useful options. See the ACSM 2026 guideline summary.
You can perform this workout:
- After a beginner home workout
- At the end of a full-body bodyweight session
- On a separate day between strength workouts
- As a short session when you are not carrying significant abdominal, neck, or back soreness
Common Beginner Ab Workout Mistakes
Most mistakes come from excessive range, speed, or volume. Use the simplest pain-free version you can control.
Pulling on the Neck
Do not pull your head forward. Cross your arms, reduce the crunch range, or keep your head down during heel reaches.
Using Momentum
Swinging may produce more reps but less control. Pause and slow the lowering phase.
Forcing the Lower Back Into the Floor
Use a comfortable spinal position and prevent large, uncontrolled arching; do not press down with maximum effort.
Holding Your Breath
If you must hold your breath, shorten the range or stop the set.
Choosing Advanced Leg Raises Too Soon
Straight-leg raises are harder to control. Start with bent-knee toe taps.
Training the Abs Hard Every Day
Daily maximum-effort sessions are unnecessary. Allow recovery between challenging workouts.
Ignoring the Rest of the Body
Direct ab work does not train the rest of your body adequately. Add a balanced home strength-training program.
What If You Feel the Exercises in Your Neck, Back, or Hip Flexors?
Some effort outside the abs is normal, but pain or rapidly increasing discomfort means you should stop and adjust. Try less range, more support, or an easier variation.
| Where You Feel It | Possible Reason | Adjustment to Try |
|---|---|---|
| Neck during crunches | Pulling the head or using too much range | Cross arms over chest and lift less |
| Lower back during toe taps | Leg moving beyond your controllable range | Use heel taps or keep one foot down |
| Hip flexors during leg movements | Long lever or excessive volume | Bend the knees and shorten the range |
| Tailbone during reverse crunches | Hard floor or excessive rocking | Use a thicker mat and make the curl smaller |
Stop if discomfort becomes sharp, increases with each repetition, or continues after changing the exercise. Persistent, radiating, or neurological symptoms should be assessed by a qualified healthcare professional.
Can Ab Workouts Reduce Belly Fat?
Ab exercises can strengthen the muscles beneath the abdomen, but they are not a reliable way to choose where fat loss occurs. Visible abdominal definition depends on several factors, including muscle development, overall body fat level and distribution, genetics, and lifestyle.
In a six-week trial, abdominal exercise improved endurance but did not significantly reduce abdominal subcutaneous fat or other measured body-composition outcomes. It therefore does not support promising targeted fat loss. Read the study in the Journal of Strength and Conditioning Research.
For body-composition goals, combine ab work with regular activity, full-body training, sustainable nutrition, sleep, and recovery. No program can guarantee a particular appearance or timeline.
Practical Recommendations
Use these simple rules to get more value from the routine:
- Start with one round and leave a few controlled repetitions in reserve.
- Keep a comfortable space between your chin and chest during crunches.
- Stop each leg movement before your lower back position changes sharply.
- Write down the variation, repetitions, and any discomfort after each session.
- Repeat the same plan for four weeks before replacing exercises unnecessarily.
- Add difficulty to only one or two movements at a time.
- Pair the routine with a balanced three-day full-body workout.
Consistency matters more than making every session exhausting. Eight smooth crunches are more useful than 20 rushed repetitions that rely on neck tension and momentum.
Frequently Asked Questions
What is the easiest ab exercise for a beginner?
A short heel slide is an easy starting point because the floor supports you and the range is adjustable.
Is a 10-minute ab workout enough?
Yes. Ten minutes can be enough when you train consistently and progress gradually. More time is not better if fatigue reduces movement quality.
Can I train my abs every day?
Daily hard training is unnecessary for most beginners. Use two or three weekly sessions and allow recovery.
Are crunches safe for beginners?
Crunches can suit healthy beginners who tolerate spinal flexion. Use a short range, avoid pulling the neck, and stop if they cause pain.
Why does my neck hurt during ab exercises?
Neck fatigue may come from lifting too high, pulling with your hands, or continuing after your abs tire. Reduce the range or support your head lightly.
Why do I feel toe taps in my hip flexors?
Some hip-flexor effort is normal. Bend your knees, shorten the range, or keep one foot down if it dominates.
Do I need planks to train my abs?
No. Planks are useful but not mandatory. This routine trains the abdomen without loading the wrists or shoulders.
How long does it take to strengthen the abs?
There is no universal timeline. Track better control and gradual workload increases instead of expecting a fixed deadline.
Can this workout give me visible abs?
It can strengthen your abs, but visible definition also depends on body-fat distribution, muscle size, genetics, and lifestyle. No routine can guarantee it.
Conclusion
An effective abs workout at home for beginners should be simple enough to control and structured enough to progress. Start with one or two rounds of heel slides, modified crunches, reverse crunches, heel reaches, and bent-knee toe taps two or three times per week.
Use a comfortable range, keep breathing, and stop before your neck, back, or hip flexors dominate. Once you complete the routine smoothly in two workouts, add a small number of repetitions, a brief pause, or one extra set—not every progression at once.
For balanced development, combine this short ab session with a beginner full-body workout that also trains your legs, back, chest, shoulders, and arms.How to Build Muscle at Home: Beginner Workout Plan